Tuesday, June 10, 2014

Makena's The Very Hungry Caterpillar 1st Birthday Party!

Hello again my crafty folks!

 Yes, yes this post is LONG overdue and I apologize for not sharing these projects & photos with you much sooner. As I previously mentioned my sweet girl turned one back in... oh my January and we celebrated her with a Very Hungry Caterpillar themed birthday party. I can't tell you how excited I was to plan this special day for her. Ok... a quick confession. I might've started the planning process over the summer of 2013, but shhh that's our secret. Honestly, I LOVE celebrating birthdays even before I had a baby. I believe birthdays are very special and should be well celebrated! For that reason, I knew my girls 1st was going to be extra extra special. I know that she will never remember the actual day and all the details I put into it, but I know in my heart that she felt the love that surrounded her that day. Seeing her face light up when everyone started singing happy birthday to her is a memory I will cherish forever. Tear. All the late night planning was oh so worth it and I will do again in a heartbeat. It's technically summer in a couple of days.... So you know what the means? I know call me crazy! :)

Although, The Very Hungry Caterpillar is a well-known and popular children's book they don't have a lot of already made party supplies. I searched around online and found a few things here and there but none that I was super impressed by and especially not at the prices. For this reason, I decided to make most of the party decorations myself. 

First, the invitations.
When I first began brainstorming ideas for invitations I envisioned making a small booklet like the VHC book that summarized Makena's first year of life.  Months before her party I began teaching myself how to design using Photoshop Elements and let me tell you it was no easy task. I consider myself crafty, like paper, glue & scissors type crafty, not computer programs type crafty (if that makes any sense to you.) After many many hours, days, weeks of playing around on Photoshop I finally managed to design exactly what I wanted. I was so proud of myself and couldn't wait to take my file to the local print shop to have them printed. Unfortunately, my dreams were quickly shattered. I found out that each invitation was going to cost me around $4-$6 to print depending on the type of paper I chose. That meant $160-$240 dollars just on 50 invitations!! I briefly tried to justify the cost but knew there was no way I was going to pay that much on just invitations alone, so I quickly came up with a plan b. I googled VHC invitations I found many images with a caterpillar made out of circles. I wasn't overly excited with any of the ones I found so I thought why not combine my original idea with the caterpillar styled invite? Ta-da and here you have it folks...

Folded invitation

Full invitation unfolded

1st page

Pages 3 & 4

Back side
I used my beloved Cricut to cut all the circles in red, green & lime green cardstock and also to cut all the shapes on the caterpillars face. I designed the white circles on Photoshop Elements with VHC images I found online and took them to my local print shop to have them printed for guess how much? Free! Yes, I think the guy remembered how sad I was about the booklets and printed 50 sheets for free! I was blown away and so grateful! I was able to design 5 circles on one 8 ½ x 11 sheet of paper and then I used my 3.5 inch circle punch to cut out each circle. I adhered all the white circles to the colored cardstock and then attached them with red & green mini brads to make a caterpillar. I also like adding a handmade stamp to my projects, so I choose a stamp from DCWV that I had in my stash.


The invitations fit perfectly in an A6 envelope that I purchased from Paper Source in the color Beet. I also found The Year of the Dragon mailing stamps (Makena was born during the year of the dragon) on the USPS website and had to have them. After all, it's all about the details right?


Welcome Sign

All that time I spent on Photoshop Elements (PSE) for the invitations paid off because I was able to design several paper crafts for the party. One of the many things I designed was this welcome sign. I used the same VHC images I found online and added text. The sign measures 10x10 inches and it hung perfectly on the front door.

Supplies:
-12x12 colored cardstock paper
-Paper glue
-Typed or handwritten message for sign
-Ribbon
-Hole punch


No Sew Fabric Pennant Banner

Ok. I do not sew. Well I have good intentions to sew. I got a sewing machine for Mother's Day. It's still in its box. 

I was happy to find many great no sew tutorials on good ol' Pinterest. I remember seeing seeing Beverly Fabrics sold VHC fabric. I purchased a 1/2 yard of each design and that was plenty enough to make the banner. Next, I made a triangle template out of recycled cardboard that measured 12 inches on the long sides and 8 inches on the top edge. I used my template to trace triangles onto my fabric and then cut the triangles using pinking shears also known as zig zag scissors (you can also use straight scissors for this too!) Once I had all my triangles cut I measured out 80 inches of red polka dot ribbon and hot glued the triangles to it. That's it! I can't tell you how easy & cheap this banner was to make and I loved the way it turned out.

Supplies:
-A piece of heavy cardboard for making template
-Fabric
-Hot glue gun
-Ribbon
-Sharp scissors


Centerpieces


I know I keep saying all the projects were simple and super easy to make but they really were! The centerpieces were no exception. First, I enlarged, printed, and fussy cut (a scrapbook term used for free hand cutting) VHC images on glossy cardstock. I then had my sweetie cut wooden dowel sticks in half and I painted them green with acrylic paint. I hot glued the VHC images to the tops of the dowel sticks and set them aside. Next, I designed a circle on PSE that measured 3.5 inches and typed "Makena is turning one" and cut them out using my handy dandy circle punch. Luckily, I had left over white metal buckets from my sister's baby shower that I was able to reuse. I glued the circles to the front of the buckets using mod podge. I just love that stuff! Inside the buckets I hot glued a half dome of styrofoam to the bottoms and then placed the green dowesl in the middle of it so that it would stand straight up. Lastly, I took colored tissue paper and stuffed it in the bucket. Super easy. Super cute!

Supplies:
-Enlarged VHC images
-Wooden dowel sticks cut in half
-Acrylic paint
-Party circles either typed or handwritten
-Circle punch
-Buckets
-Hot glue gun
-Mod podge
-Colored tissue paper


The Guess Book


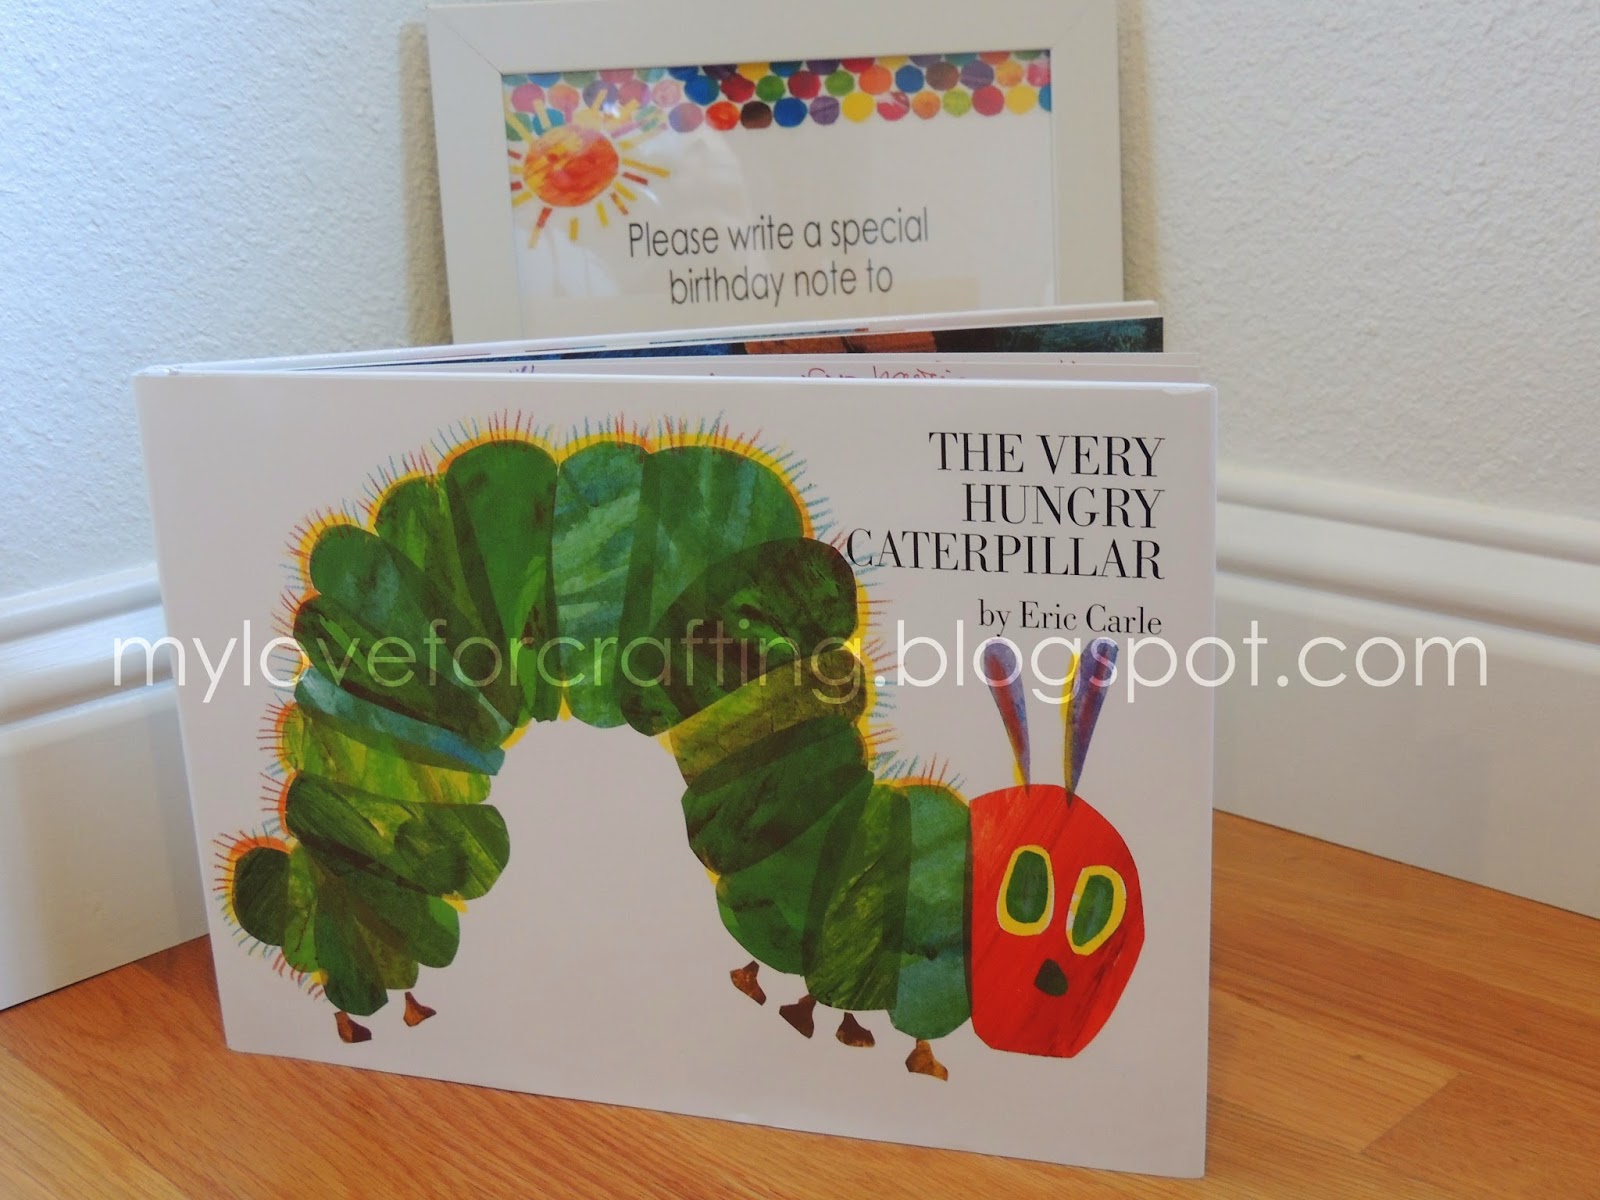
Since the party theme was inspired by a book I thought it would be cool to have everyone write a special message to Makena in the actual VHC book. Next to the book I  made a simple sign explaining to the guest what I would like them to do. I absolutely loved this idea. I love that Makena will be able to look back on it one day and read all the sweet birthday wishes written to her on her special day!

Supplies:
-The Very Hungry Caterpillar Book
-Pens ( I like to use Sharpie pens) 
-Typed or handwritten message with directions for guest


That's all I have to share with you today folks! I hope you enjoyed all the projects and will stop by soon to share more crafty things with all of you!

Abrazos,
Nathalie

Wednesday, January 29, 2014

I'm baaaack!


Hi there! Happy 2014 & Welcome back! So…unfortunately my first attempt to blogging kind of failed. However, I am back and after figuring out what got me to stop blogging the first time, I am now here to stay. Initially, I started my blog to have a place to share all my crafty projects and maybe even inspire others to be crafty and creative. Well, let’s just say I got a bit carried away and overwhelmed with ideas on all the things I wanted to do with my blog, and because of that I lost track of my main purpose. I took me some time to reflect on my goals and also set realistic goals for myself because I also want blogging to be fun for me. Anywho, enough with my spiel! I am back and I’m looking forward to sharing with you all the projects that I’ve created in the past few months and new ones to come. I also plan to continue to share with you my joys as a mother and any tips/suggestions I may have.  

Now, let’s catch you up what my family & I have been up to for the past 3 ½ ok 4 months…

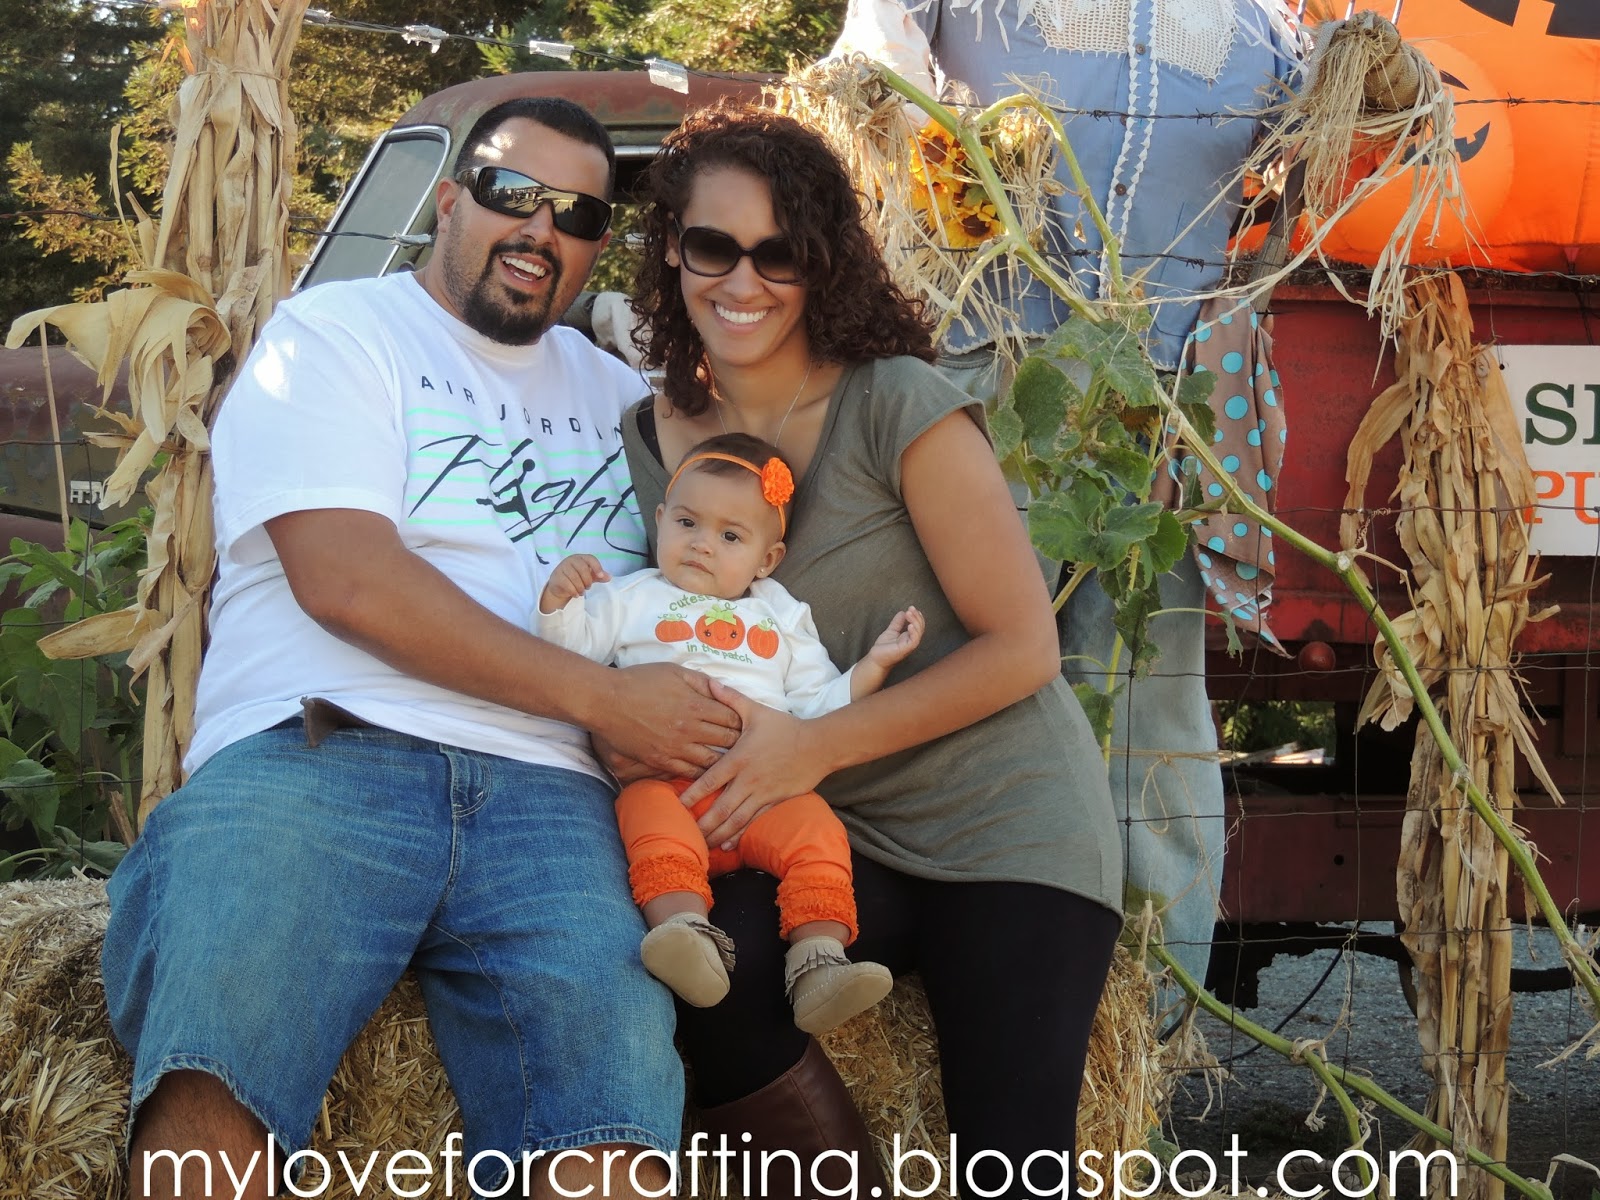
1. We took Makena to her first pumpkin farm!

It was such a beautiful California day! Makena loved touching (and even trying to eat) all the pumpkins. This was our first year actually going to a pumpkin farm, which was really cool! Last year, we went to a pumpkin patch with J's nephew's and little miss Makena was growing inside momma's belly. 


2. We cut down our Christmas Trees in Santa Cruz!

For the past 4 years, we've made a tradition with J's family to go cut down Christmas trees the weekend after Thanksgiving. It is something we all look forward to every year! This year was extra special because Makena was able to be apart it. 


3. We celebrated our first holidays as a family :)

Aside from the cold that comes with it -the holidays are my most favorite time of the year. I love the spirit of the holidays and being surrounded by love & family. I also feel that especially around the holidays people are more happy, more smiley and in a good mood. To be quite honest, I've always wanted a baby to be born around the holidays because it's the most wonderful time of the year!

4. Makena turned ONE!

Oh my… I still find it hard to believe that I have a one-year-old! Where the heck did time go? You know that I LOVE to plan parties and I was so very excited to plan my girls 1st birthday party. I decided to keep the book theme going (my baby shower was Dr. Seuss themed) and did The Very Hungry Caterpillar party. It actually fit Makena perfectly because once she eating solid food, she was indeed a very hungry caterpillar! We decided to have her party a couple of weeks before her actual birthday, so that we could celebrate with her Grandma from Maui and my family who was here from Puerto Rico. The day was absolutely perfect, weather and all! Makena was surrounded by so much love and I couldn't have ask for anything more. I had a lot of fun designing her invitations and party decorations (will be sharing pics soon!) and I look forward to the day she can become apart of the planning process.

On her actual birthday we spent the day as a family in San Francisco. We took her to the Exploratorium and then had lunch at Bubba Gump's. I would have to say her favorite part of it all was watching and listening to the sea lions on pier 39. For dinner we invited our families over for pizza & cake and again it was just perfect! :)


5. We visited Lake Tahoe!

We drove to Lake Tahoe which is just 3 hours away from where we live in CA. I had not been there during the winter since I was about 7 years old! :( It's such a beautiful place in both the summer and winter and we hope to make a lot more trips now that we have a little one. Anyways, our trip there this time was great. We went with family who was visiting from Puerto Rico and just had a wonderful time. Although, there was not a whole lot of snow there was enough for us to enjoy. Makena also loved every bit of being there and she did not mind the cold at all!


5. My blog got a new name & look!

As you may have noticed my blog has a brand new name & look.  Coming up with names for things is always challenging, but I honestly feel like this one fits just right. This blog was created on the basis of crafting and that is what I love to do -and just like that I came up with my love for crafting.


Thank you so much for stopping by today and continuing to be on this journey with me. I'll be back soon to share the projects I made for Makena's 1st Birthday Party.

Grande abrazos,
Nathalie


Thursday, October 10, 2013

Makena's Baptism Part II


Hola,
I hope you all had a wonderful day. Today I wanted to share with you the things I made for Makena's baptism. I went for a pink + gold vintage-y theme and tried to keep it simple yet elegant. I am very pleased with how everything turned out, but couldn't have done it all without the help of my sister + best friend who both spent hours with me making the crepe paper roses (thank you times a million!)

Let's start with the invitations...

The favors using 8oz mason jars, soy wax, vanilla, and fresh lavender 

The favor tags

Rose crepe paper pom pom centerpieces

Thank you cards using mini crepe paper roses

That's all I have to share today. I hope to be back soon with more fun stuff! :)

Abrazos,
Nat

Monday, October 7, 2013

Makena's Baptism 9.8.13

Hi there, 
I know I said I would share my daughter's baptism photos weeks ago...well you know... life kind of got in the way. Anywho, rather late than never, right? Without further ado I share with you Makena's special day...


My Family
Makena & her daddy
Makena's Godparents
The reception


The favors


Makena's baptism day was beautiful. I think she knew that it was her special day because she was such a good baby all day long. If I had to guess I would say that her favorite part of it all was when the priest poured the holy water over her head. She just looked back as if she were saying, "do it again." It was so precious. We feel as though we have been truly blessed with such a beautiful, happy, healthy, amazing little girl. She is a gift from God, and we are thankful for our gift everyday.

Tomorrow,  I will share with you the crafty things I made for the baptism which include: the invitations, thank you cards, crepe paper pom poms, mason jar candle favors & tags. 

Thanks for stopping by!
Abrazos, 
Nat

Saturday, September 14, 2013

Homemade with Love: Defrosting/Warming & Packing Baby Food

Hello again, yesterday I discussed how to freeze and store baby food. Today I will discuss how to defrost/warm and pack homemade baby food. First things first, how much food do babies eat? Typically most babies eat about an ounce of food per meal when they are first learning to eat solids. With time and as baby grows, they will eat more. What is nice about the ice cube trays is that each cube is approximately one ounce -this gives you perfect little portions of food without hardly any work! As baby grows simply defrost more than one cube at a time.

Defrosting & Warming
There are several ways you can go about thawing baby food. The first way is by creating a double broiler on the stove top by putting water in a pot, and placing a bowl in the pot. Then you just put the frozen food cube in the bowl and let it warm up. Easy! Another way of thawing baby food is by using the good ol' microwave. If you choose to use the microwave be sure to defrost the food cubes in a glass bowl and not a plastic container as research says glass is safer than plastic. Also, when using the microwave BE SURE to stir the food to ensure that there are no hot-spots that will burn baby. Lastly, you may thaw baby food in the refrigerator over night in closed containers. This method obviously takes longer than the first two, but if you plan accordingly its no biggie.

Good to know
Babies like room temperature foods, so reheating and serving baby food cubes warm is not necessary. The food cubes can be served at room temperature once they have been thawed and heated.
Homemade baby food that has been thawed can be kept safely in the refrigerator for up to 72 hours, just be sure to keep the food in a sealed container to avoid any contamination.

Packing
A good overall tip to help ease packing and traveling with baby food, is to try and serve some food at room temperature. By doing this it will allow baby to grow accustomed to food that is not hot. This will be a life saver and you will never have to worry about a meal being rejected because it is not hot. Depending how long I'm out for I pack a mini cooler with my baby food in a container/s. If its a hot day I add an ice pack to the cooler, but it is not always necessary.

Nat's Picks: feeding products

1. Skip Hop Triple Bottle Bag
Originally I bought this bag to store bottles when I'm on the go, but now I use it to pack baby food. It's durable and spacious. It can hold up to 4 bowls of food or 3 bowls and an average size sippy cup. I love that it can attach to my Skip Hop Diaper bag or I can use it as a shoulder or crossbody bag. It also has a compartment in the front for a bib and/or spoons.
Love these guys! You can defrost up to 4 food cubes per bowl. The lids fit nice and secure. I've never had a spill or leak, and they are dishwasher safe.
My good friend recently gave me these as a gift! The tiny holes help keep the food on the spoon longer and the angle of the spoon makes it SO much easier to get the food to the mouth. Great gift!
 I have 3 of these bibs and use them all the time. They are super lightweight, easy to clean, and water resistant. My favorite part about them is the built-in tuck away pouch -perfect for storage!
Choosing the right high chair was a bit of a challenge.  There are literally so many high chairs out there! After going back and forth between a few high chairs we finally decided to purchase this guy. So far, we have zero complaints. It so so easy to keep clean and have several neat features. I think Makena's favorite feature are the wheels. She loves been rolled around in it from the dining room to kitchen and vice versa.
Well that's all I have to share for today. Again, I hope you find this information to be helpful and useful. Next week I plan to start sharing some homemade baby food recipes -so don't forget to check back in!

Abrazos,
Nat